Creating a new project
1st Method (Github Action - Recommended)
Start by creating a new fork of the github repository here.

Create a new API Token as described in the official Cloudflare Docs.
Then, in your new repository go to Settings -> Secret and variables -> Actions -> New repository secret.
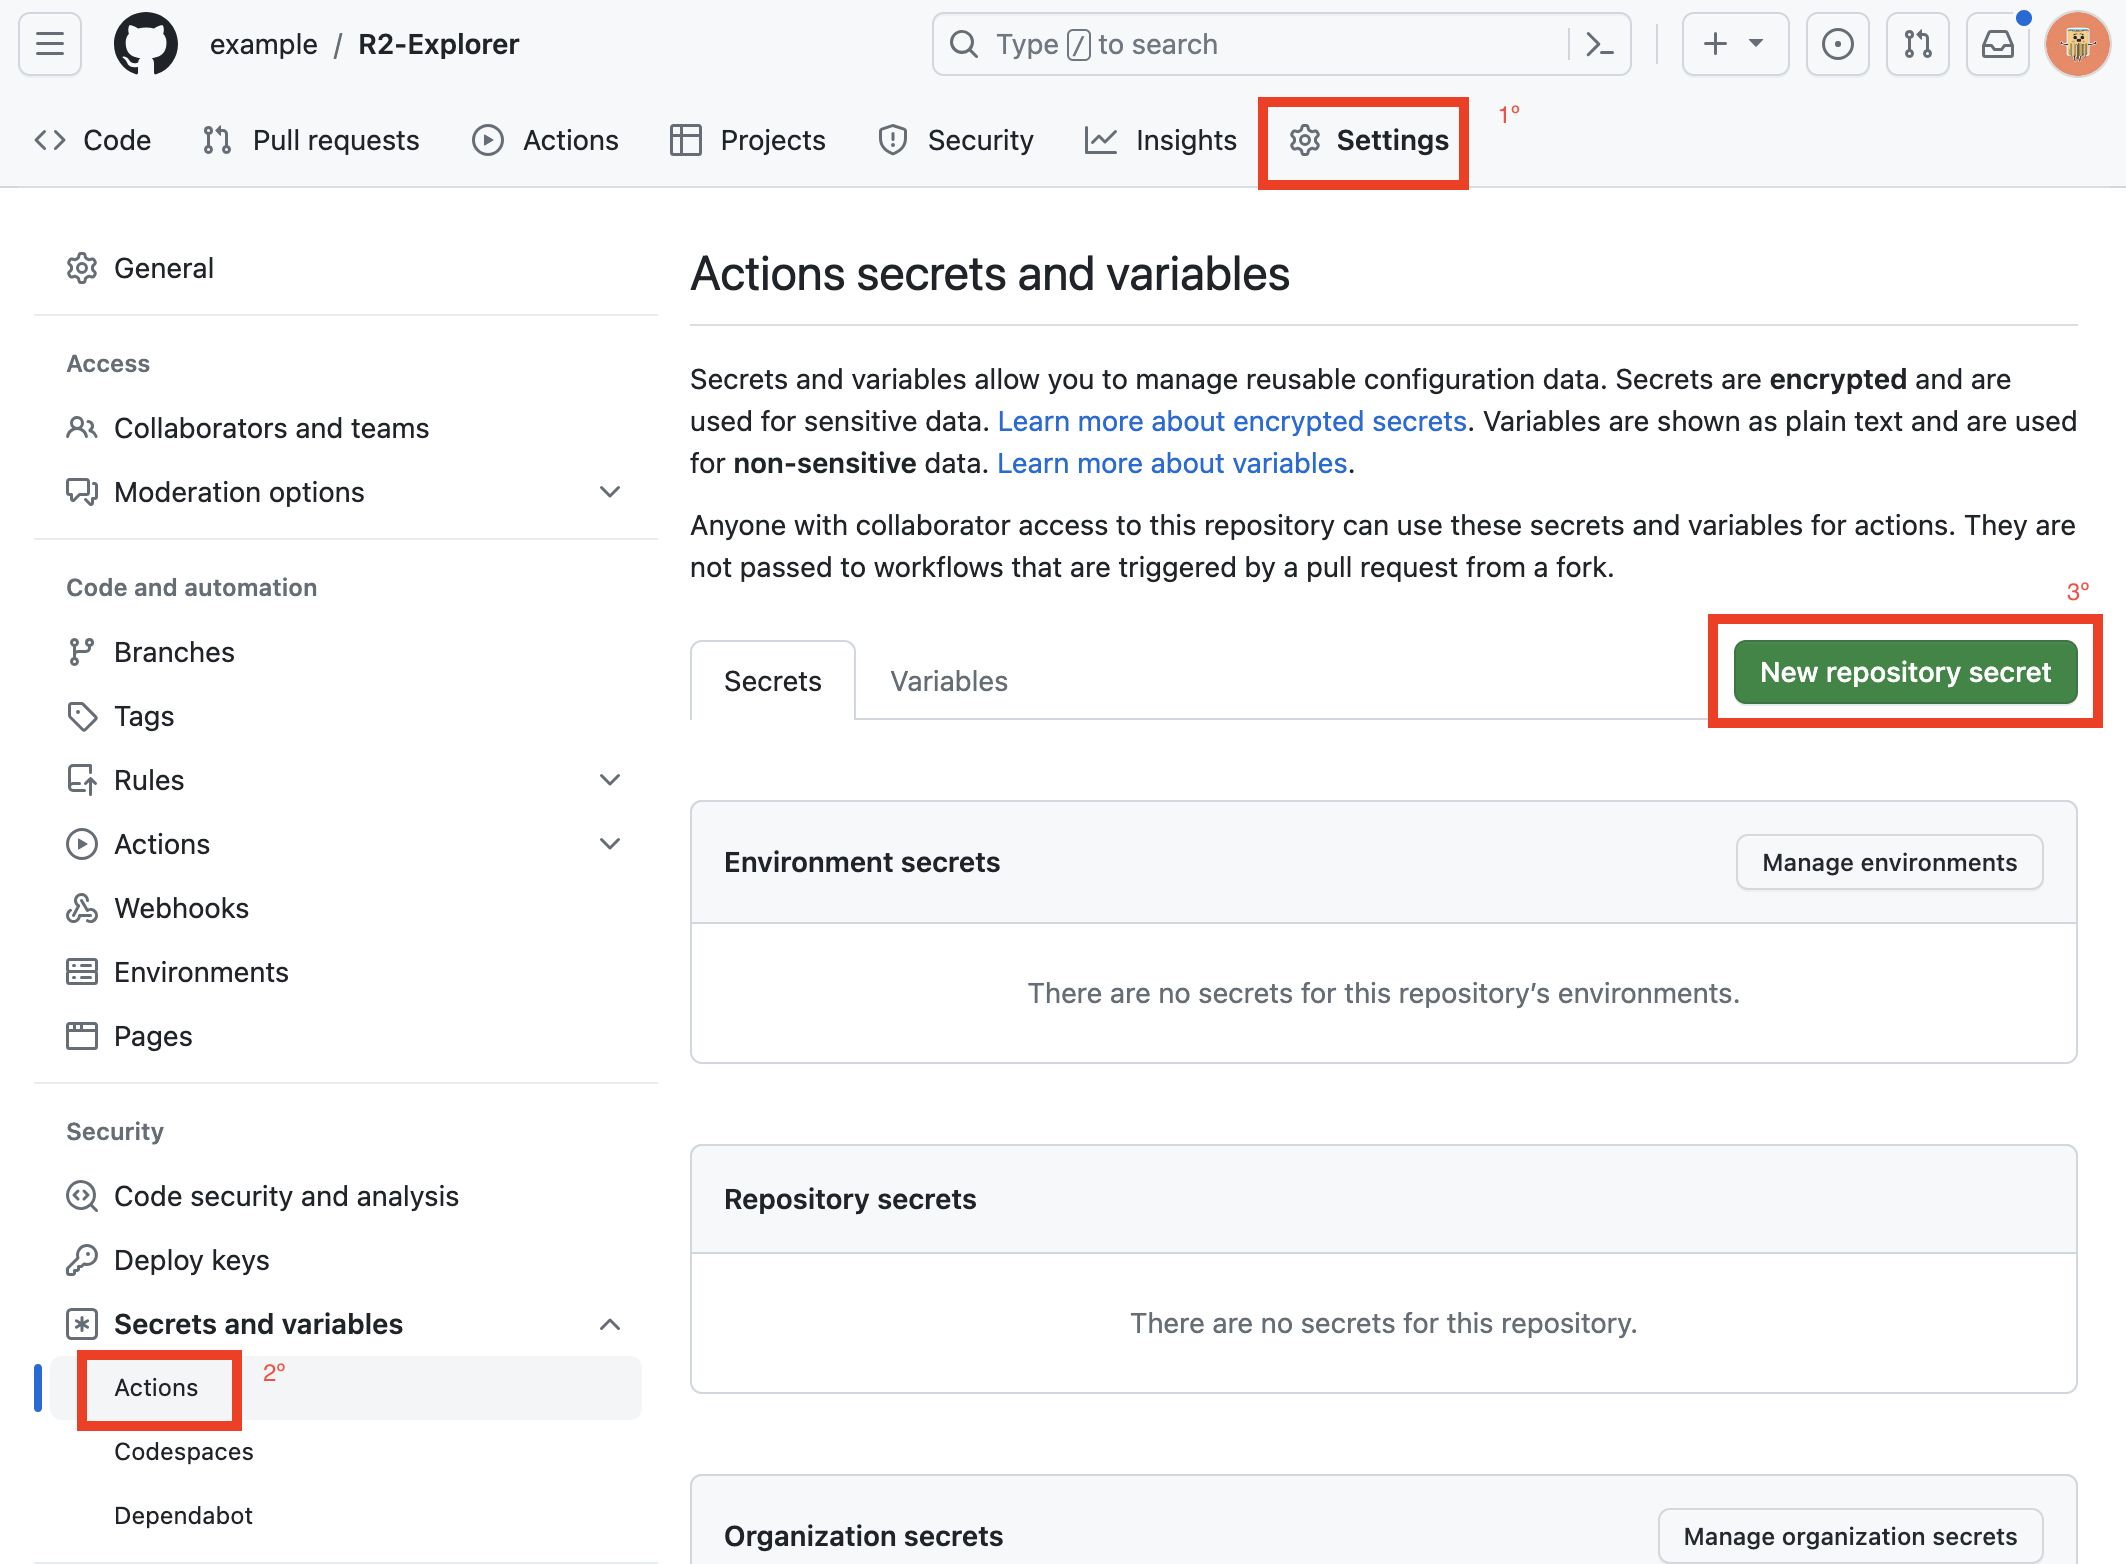
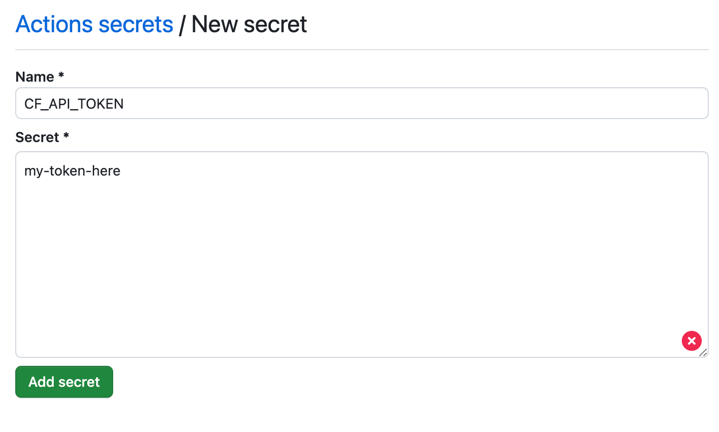
Create a new secret with the name CF_API_TOKEN and the value as the newly created token.
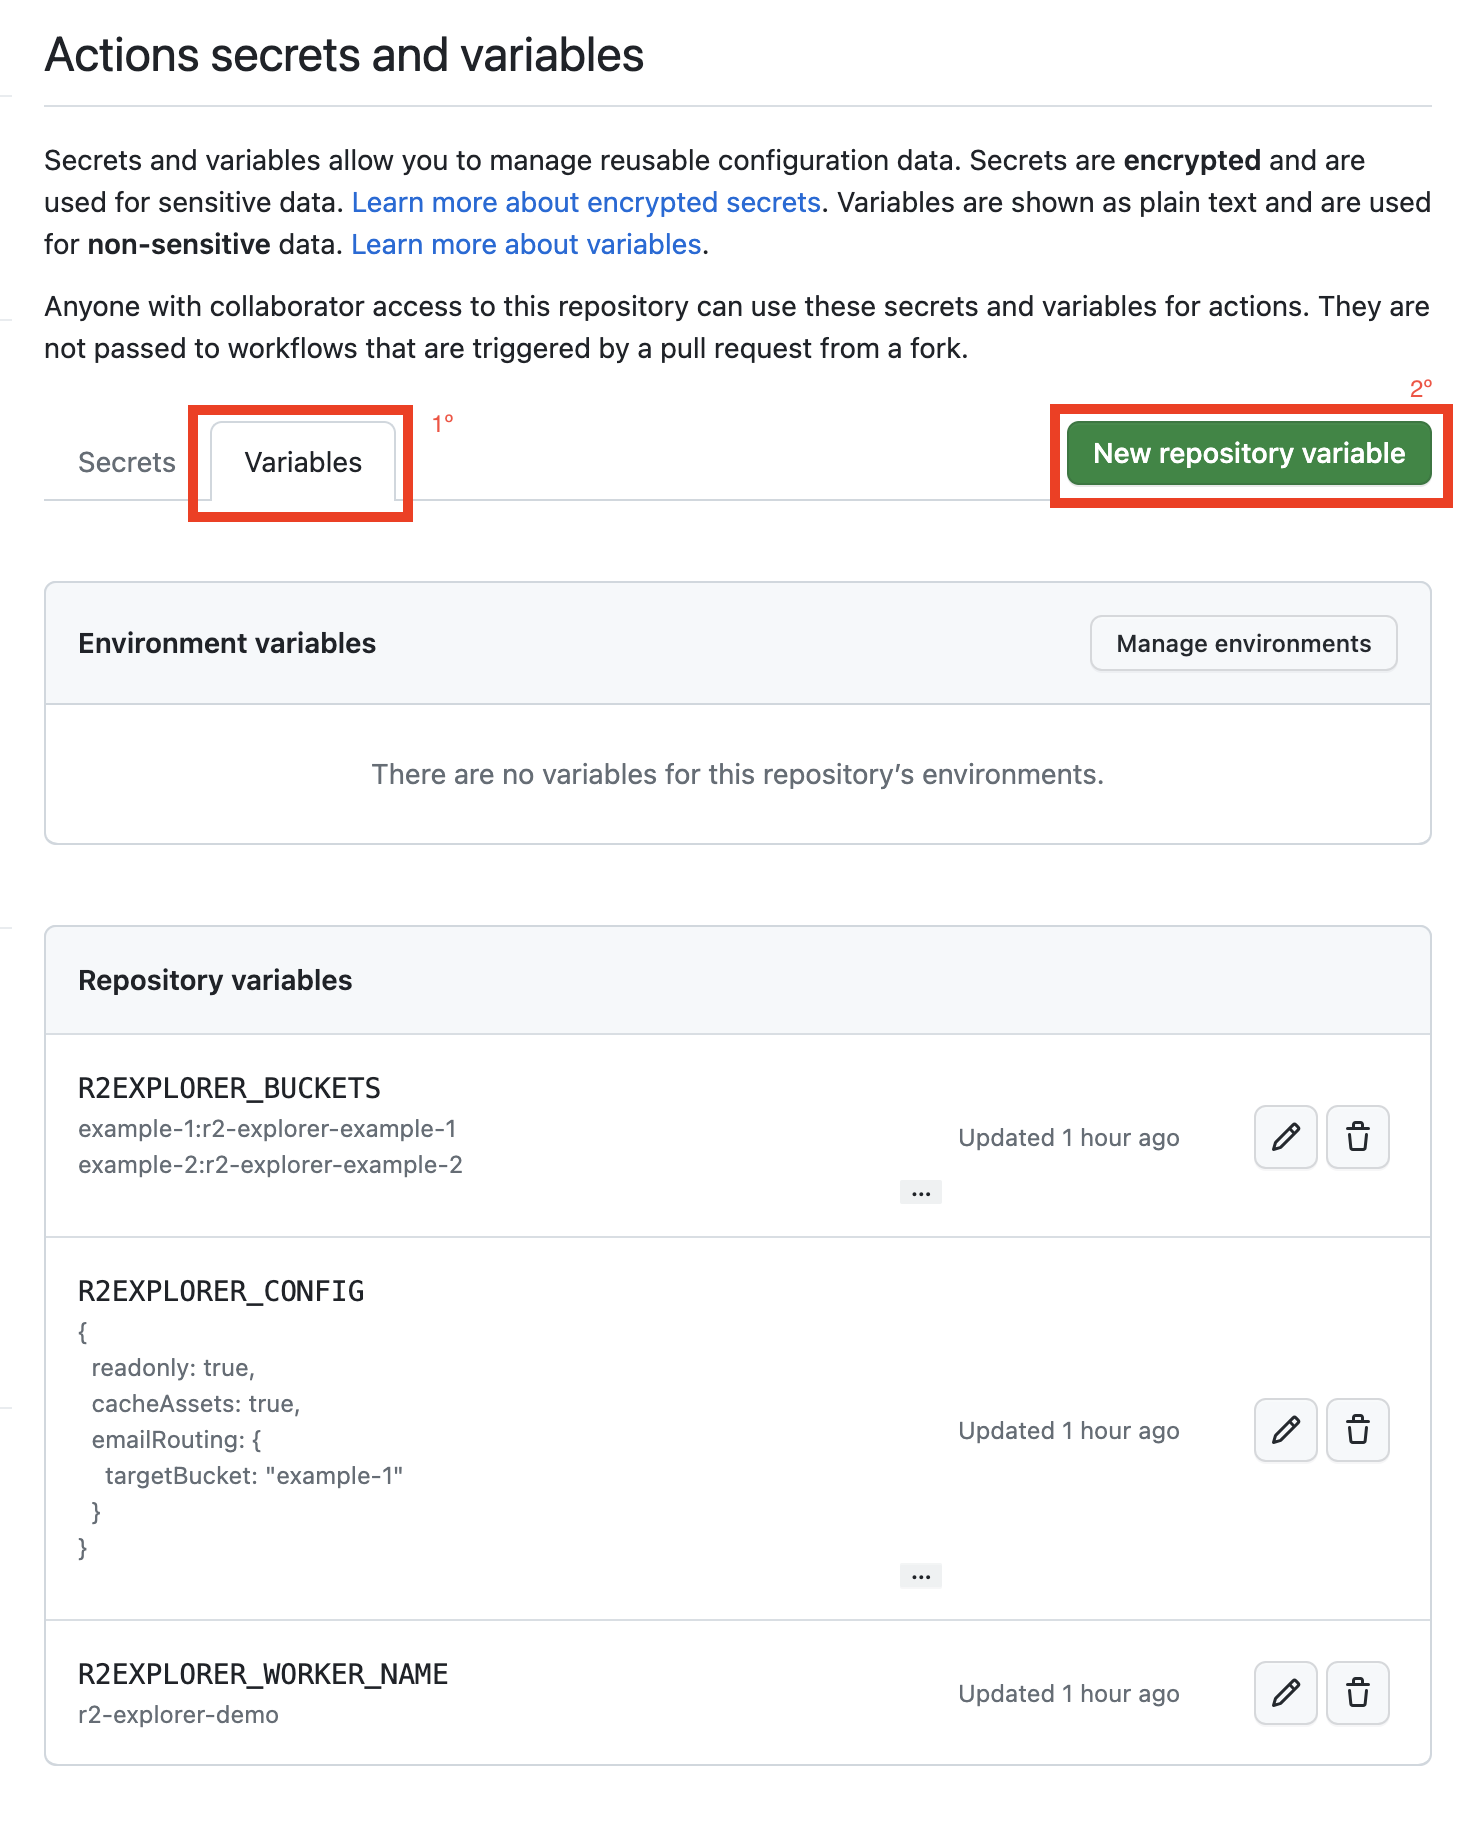
Now switch to the variables tab and create the following variables:
R2EXPLORER_WORKER_NAMEthis is the worker named used to identify the worker in your Cloudflare account.R2EXPLORER_CONFIGobject with the R2-explorer configuration, read more here.R2EXPLORER_BUCKETSbuckets in the format{r2-explorer name}:{bucket name}, define one bucket per line.R2EXPLORER_DOMAINoptional domain name used to serve the R2-explorer instance, when not set, you will be given a workers.dev domain.
Example variables:
R2EXPLORER_WORKER_NAME => my-r2-explorerR2EXPLORER_CONFIG => { readonly: true }R2EXPLORER_BUCKETS => example-1:r2-explorer-example-1R2EXPLORER_DOMAIN => my-domain.com
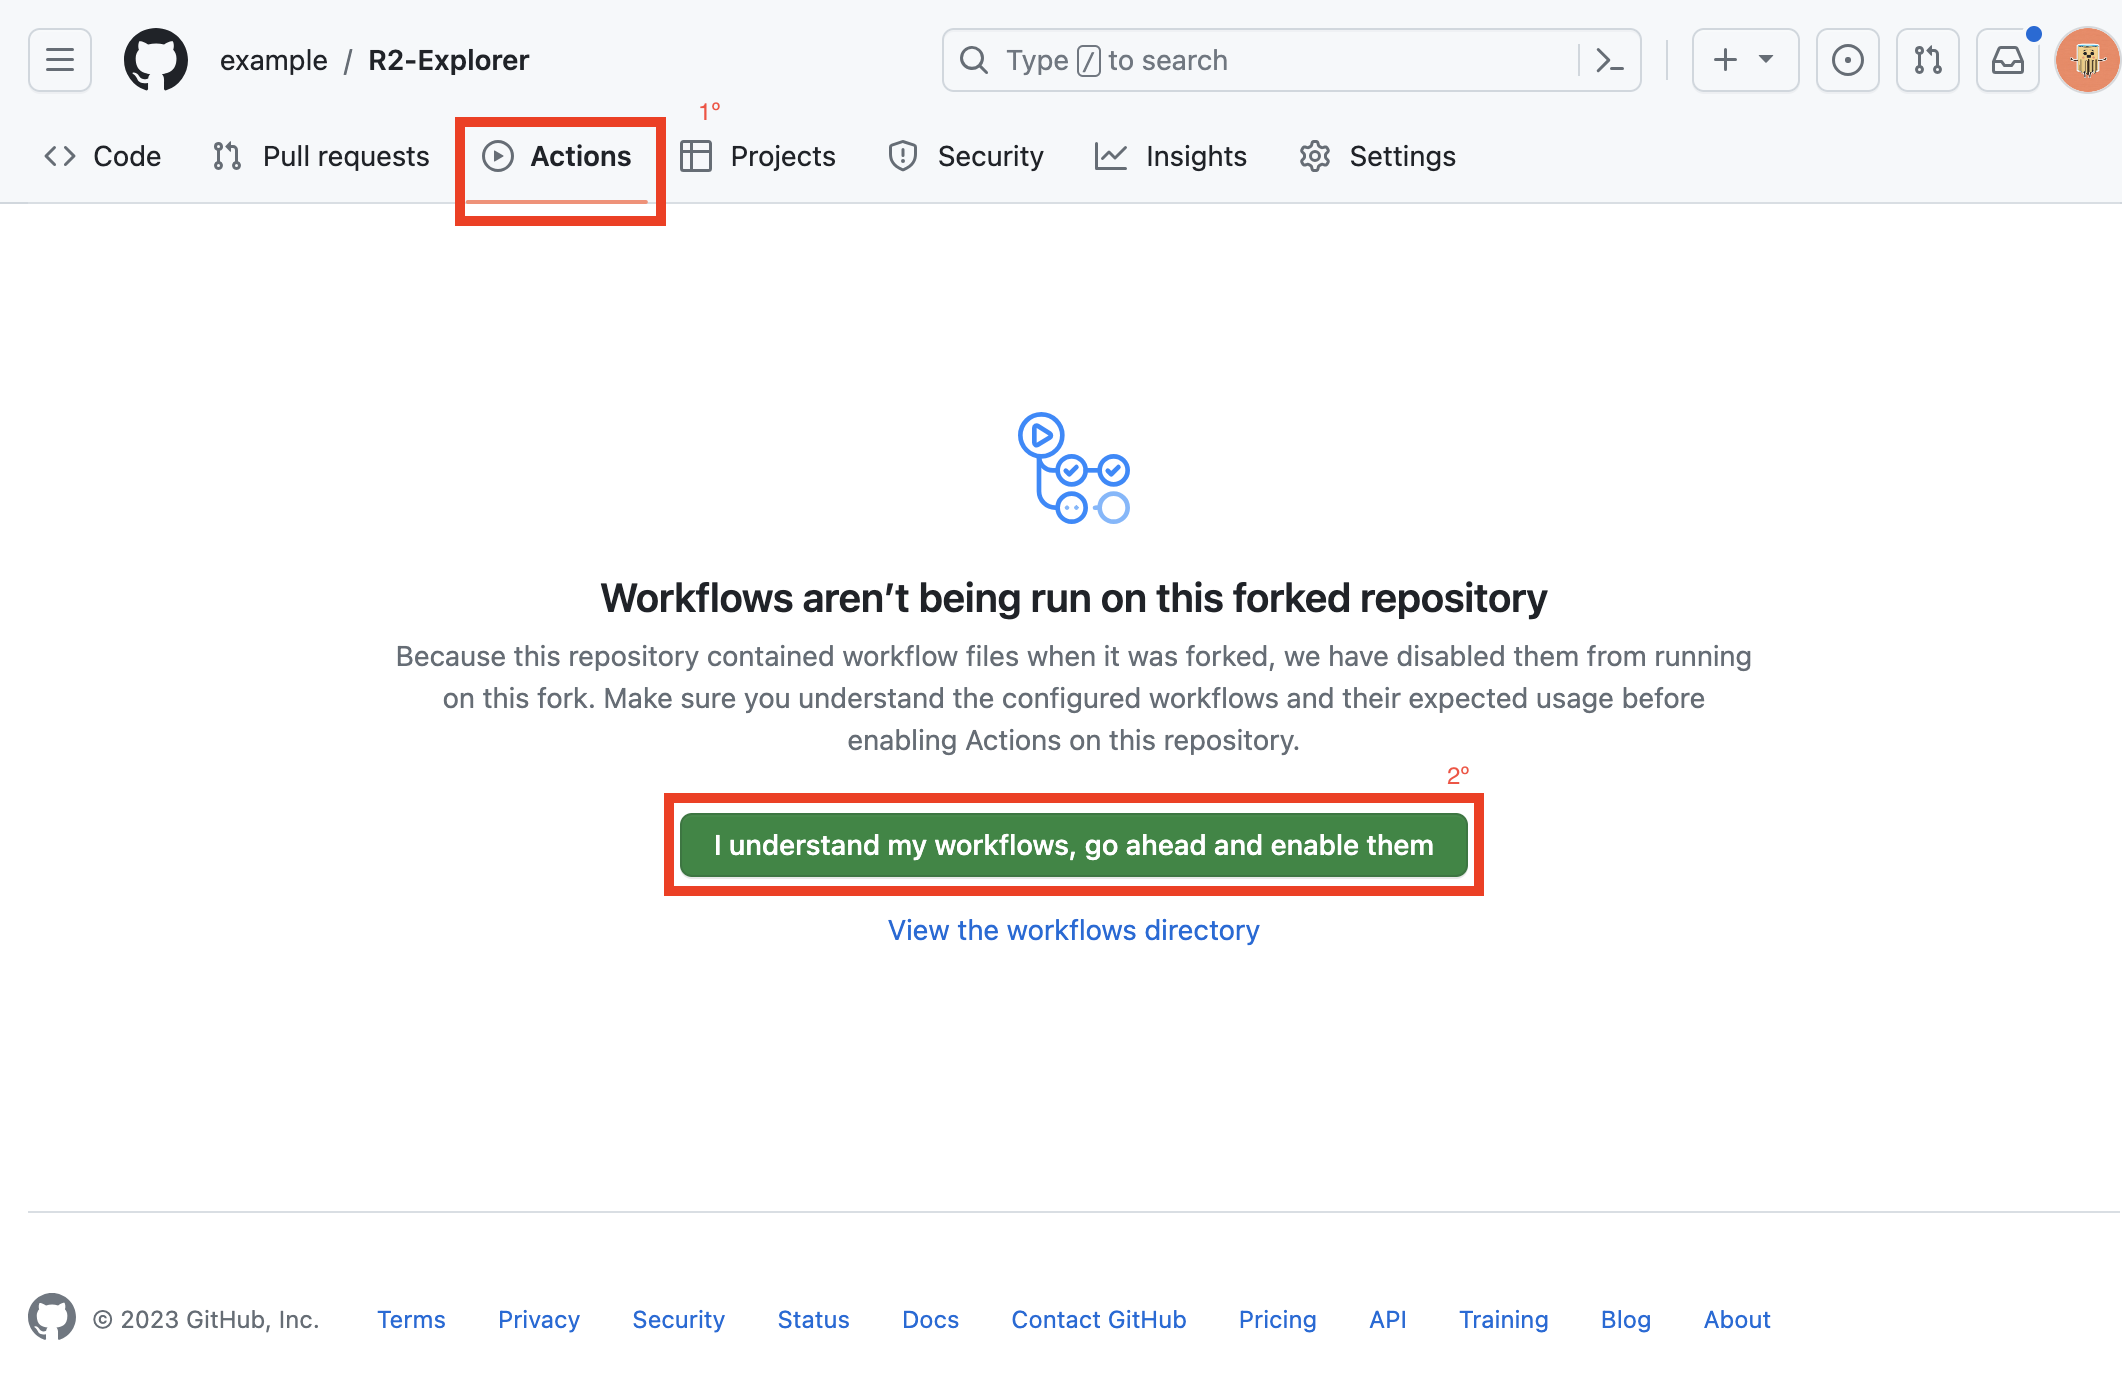
Now go to the github repository and click Actions -> I understand my workflows, go ahead and enable them.
After enabling actions, go ahead and trigger a new deploy, you can use this flow at any time to re-deploy your application.
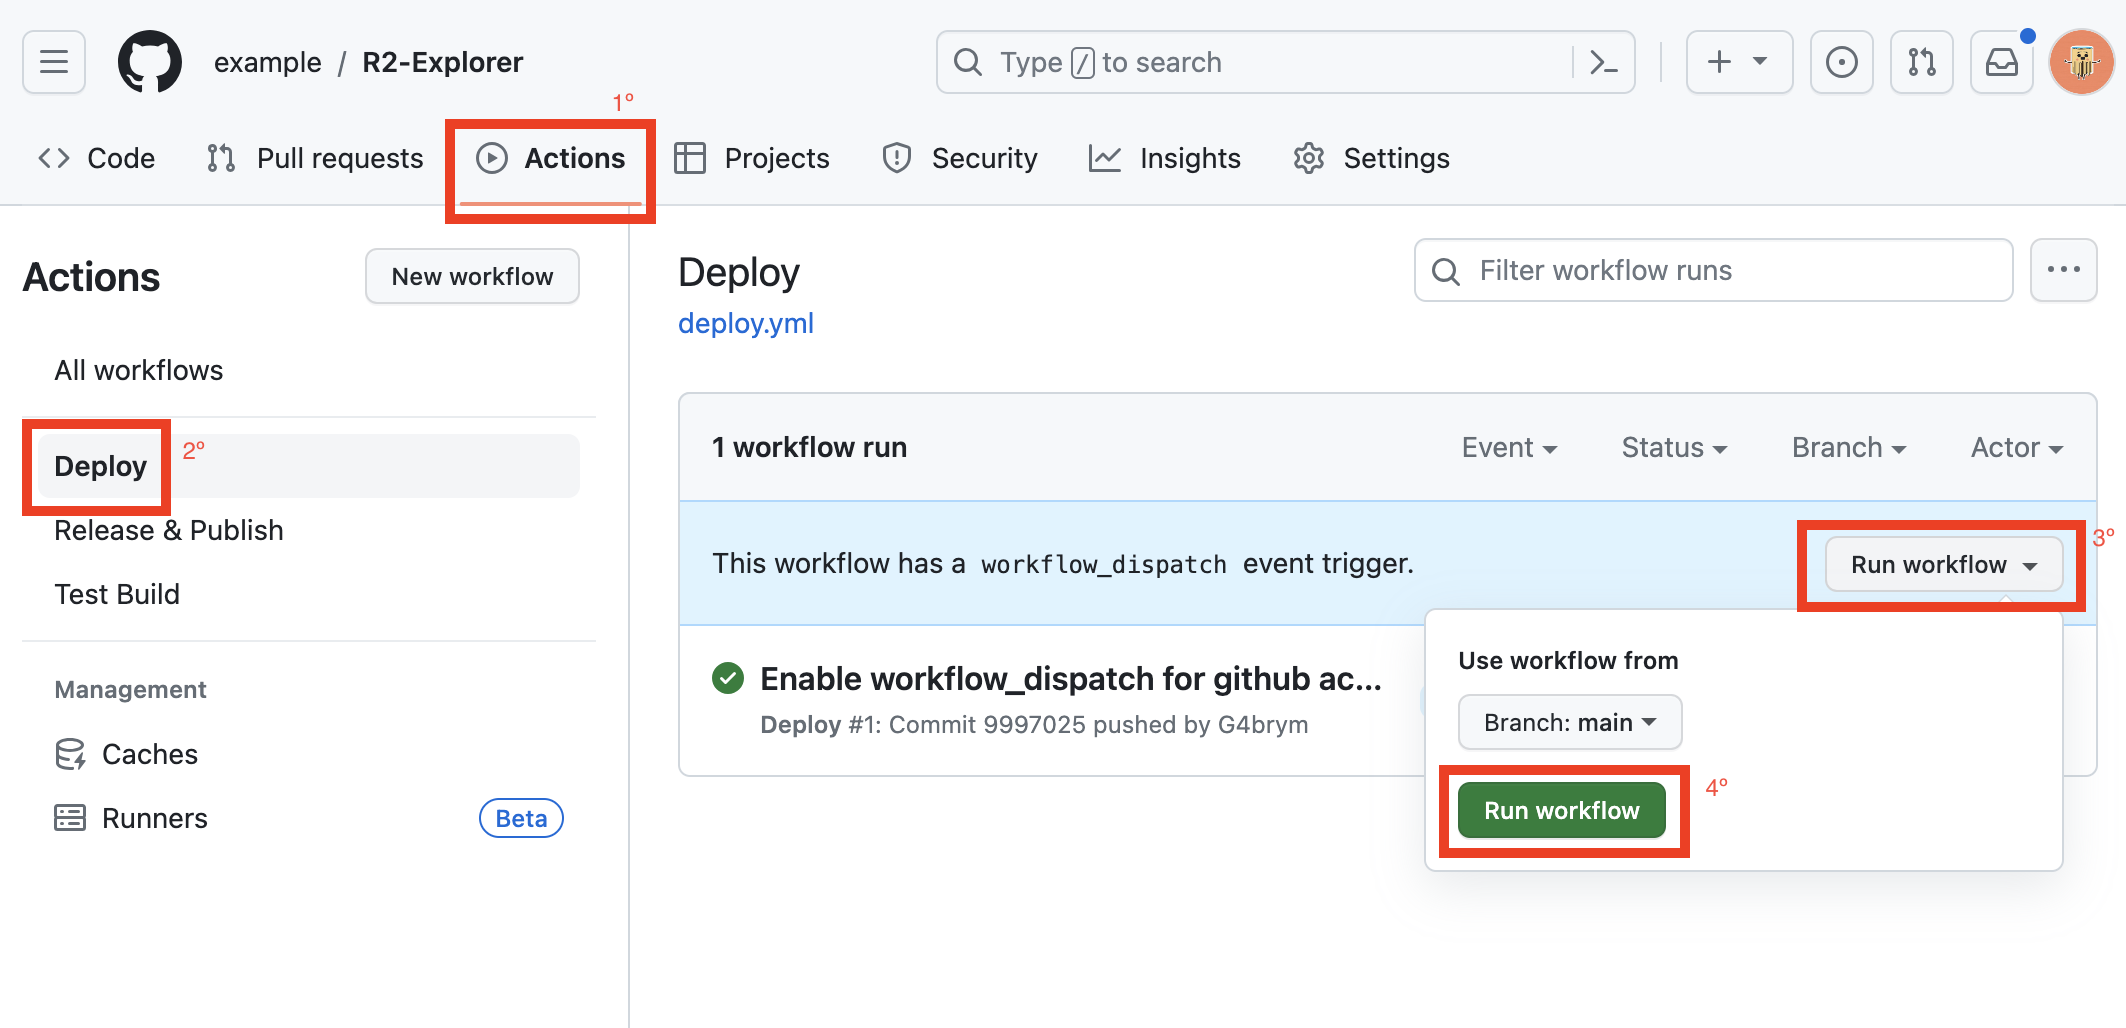
Click Actions -> Deploy -> Run workflow -> Run workflow.
2nd Method (create-cloudflare)
Creating your own instance of R2 Explorer is easy, after making sure you have Node installed, run this tool that will help you get started:
This command with automatically create the project files locally and install all dependencies.
Note
This uses the official create-cloudflare package, your wrangler informations are never shared with r2-explorer!
3rd Method (manual template)
If you prefer to do the things yourself, there is a project template available on github here, that you can use.